Free cookie consent management tool by TermsFeed Policy Generator

/dev/blog/ID10T

Advertisement

Backup Windows partitions as virtual hard disk (VHD)

Windows, Virtualization Comments

Although I prefer Linux as Desktop OS, Gaming on it is still very hard to realize. That’s why I need a Windows installation on my system. Said installation didn’t age well, so I decided to rejuvenate my six year old Windows installation and install Windows 10.

I wanted to have a fresh start and didn’t want to keep anything, but I still wanted to retain my old system and data partition as backup. I decided to use a Virtual Hard Disk (VHD) file as backup format. The advantage of this is that I can easily boot up a VM to compare my old system with my new one. Additionally Windows 7 natively supports mounting VHD, enabling easy access to the files. Thus, I created a step-by-step instruction for later reference.

Prerequisite

Tidy up your Docker lab

Docker Comments

Short tip for people like me experimenting with Docker: Cleaning up after you can be time-consuming and annoying. This also applies to keeping 3rd party images up-to-date. Luckily there’s Spotify’s docker-gc for housekeeping which - although very basic - does the job exceptional well. Just create one file with containing the names or IDs of all images you want to keep and one file with all the container names or IDs you want to keep and run docker-gc afterwards. Thereafter you can simply do a docker pull on the remaining images.
Here’s how I do the whole process, first cleaning up, afterwards refreshing the images which remain. As I do not conserve any containers, there is no EXCLUDE_CONTAINERS_FROM_GC:

#!/bin/sh

set -e
set -u
set -o pipefail
/bin/docker run -e "EXCLUDE_FROM_GC=/mnt/docker-gc-exclude" \

  -v "/docker-gc/:/mnt/" -v "/var/run/docker.sock:/var/run/docker.sock" \

  spotify/docker-gc
for IMAGE in $(docker images|tail -n +2 |awk '{print $1 ":" $2}')
do
  docker pull "${IMAGE}"
done

Download the original Pocket Firefox Addon

Firefox Comments

I’m using Pocket a lot. Sometimes I use it to save articles I want to read later, very often I use it to save and tag articles with content I need over and over again. I’m using Firefox a lot. I prefer it over Chrome and I prefer Mozilla over Google. Sadly, those two worked out a “cooperation”. While this sounds reasonable for a user of both, Firefox and Pocket, it’s the opposite. Since Firefox 38.0.5 Mozilla integrated a Pocket Addon into Firefox. The same day Pocket retired their original Firefox Addon. To be frankly, the Pocket Addon Firefox uses now is crap and is inferior to the old Addon in every aspect. That’s why I packed the old Addon into a zip and provide a download link here:

DOWNLOAD THE ORIGINAL POCKET FIREFOX ADDON
SHA256SUM: 13a0d213aeef5fbcb21b76216a99df129b8a39549426fa5e5f13d7a1ed28e6a5
MD5SUM: a13a4db7154c0f9fabec09ea803e7eb3

Hint: If you don’t trust me, don’t install the Addon. Never install Addons from untrusted sources!

Simply open it with Firefox, install the Addon and restart the Browser. Finally you can enjoy the much better version of the Pocket Addon again!

Original Pocket Firefox Addon

PS: I will probably replace Pocket with a self-hosted wallabag instance sooner or later. If you prefer self-hosted software and want to replace Pocket, have look into it.

Custom resolution for an Ubuntu Virtual Box guest

Ubuntu, Virtualization Comments

I’ve encountered this problem more often than I like to admit: I got an Ubuntu or Debian based Virtual Box guest and I’d like to change the resolution of the Desktop to one not being enabled by default. Changing the resolution temporary is easy with cvt and xrandr.

export XRES=1152 \

&& export YRES=864 \

&& xrandr --newmode $(cvt ${XRES} ${YRES}|tail -1| perl -pe 's/^Modeline\ //') \

&& xrandr --addmode $(cvt ${XRES} ${YRES}|tail -1| cut -d ' ' -f2)

But making the change reboot persistent without using those commands in a startup script took me hours of searching the web several times as I have little knowledge with X11, only find parts of the solution and never documented the steps needed on my own… yet.

OverlayFS as Docker storage driver in CentOS 7

Linux, CentOS, Docker Comments

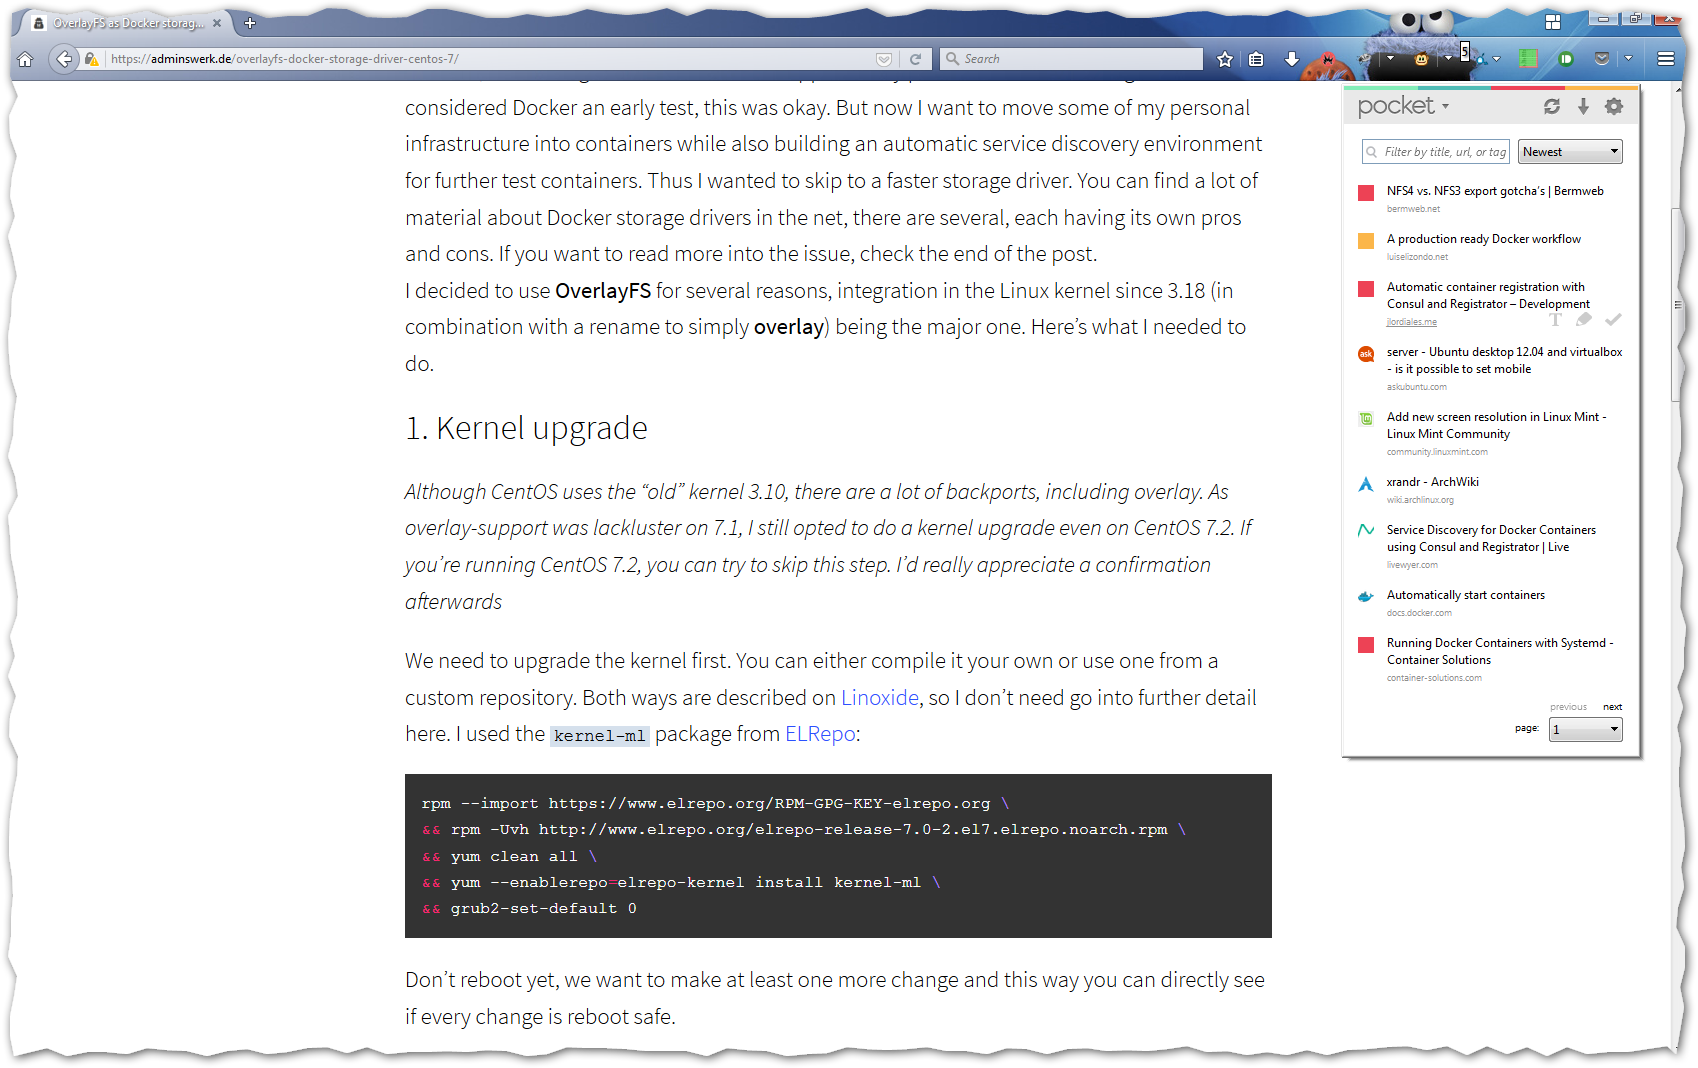
For now, I was using Docker with devicemapper on my personal servers. As long as I considered Docker an early test, this was okay. But now I want to move some of my personal infrastructure into containers while also building an automatic service discovery environment for further test containers. Thus I wanted to skip to a faster storage driver. You can find a lot of material about Docker storage drivers in the net, there are several, each having its own pros and cons. If you want to read more into the issue, check the end of the post.
I decided to use OverlayFS for several reasons, integration in the Linux kernel since 3.18 (in combination with a rename to simply overlay) being the major one. Here’s what I needed to do.

Advertisement